

I decided to have a fun baking day, so I dug out my Christmas cast iron. I have a santa cookie (or muffin) mold and I have a sleigh full of toys cookie mold.
I decided to make shortbread:
1 cup butter
2/3 cup powdered sugar
2 tsp homemade vanilla (or store bought if you must)
2 - 2 1/2 cups flour
1/8 tsp salt. If dough is too sticky, add more flour.

 It had been a while since I had used these pans, so I decided to make sure they were well seasoned. As you can tell by the photo to the right, I seasoned the outside as well as the inside of these pans -- this not only helps keep things from sticking, but also helps prevent rust on your molds. I used crisco shortening to slather all over the pans. I then place in a low oven for an hour or two right side up. The molds will catch much of the melted shortening in the shapes and prevent much of it from dripping into the oven. After an hour or so, I take out and tip the pans around to distribute more of the melted shortening around the mold interior, making sure each crevice is well oiled. I then invert on paper toweling to drain as they cool.
 Notice how thick I've put Crisco on my sleigh full of
toys! Oil will not work as it tends to leave a sticky residue on the molds.
I made my cookie dough while my molds were cooling off from the pre-seasoning treatment.
**Make sure to use real butter: that is what gives shortbread its buttery goodness! I only use Crisco for seasoning my pans.

When ready to use, oil the pan with a pastry brush and vegetable oil, then flour it well. Make sure all the nicks and crannies have been well greased and floured.


Once you take them out of the oven, let them set about 5 minutes. THEN you need to take a knife and go around the whole edge of EACH COOKIE!! If you miss one, that will be the one to break when you invert them. Another thing to help prevent breakage is to put the cooling rack on top of the cookie mold and invert together. This keeps the cookies from falling out and breaking. Once inverted, gently lift the mold away from the shortbread and allow to cool. This would be the time to prepare the frosting, or to just keep making cookies to prepare for a marathon decorating day.
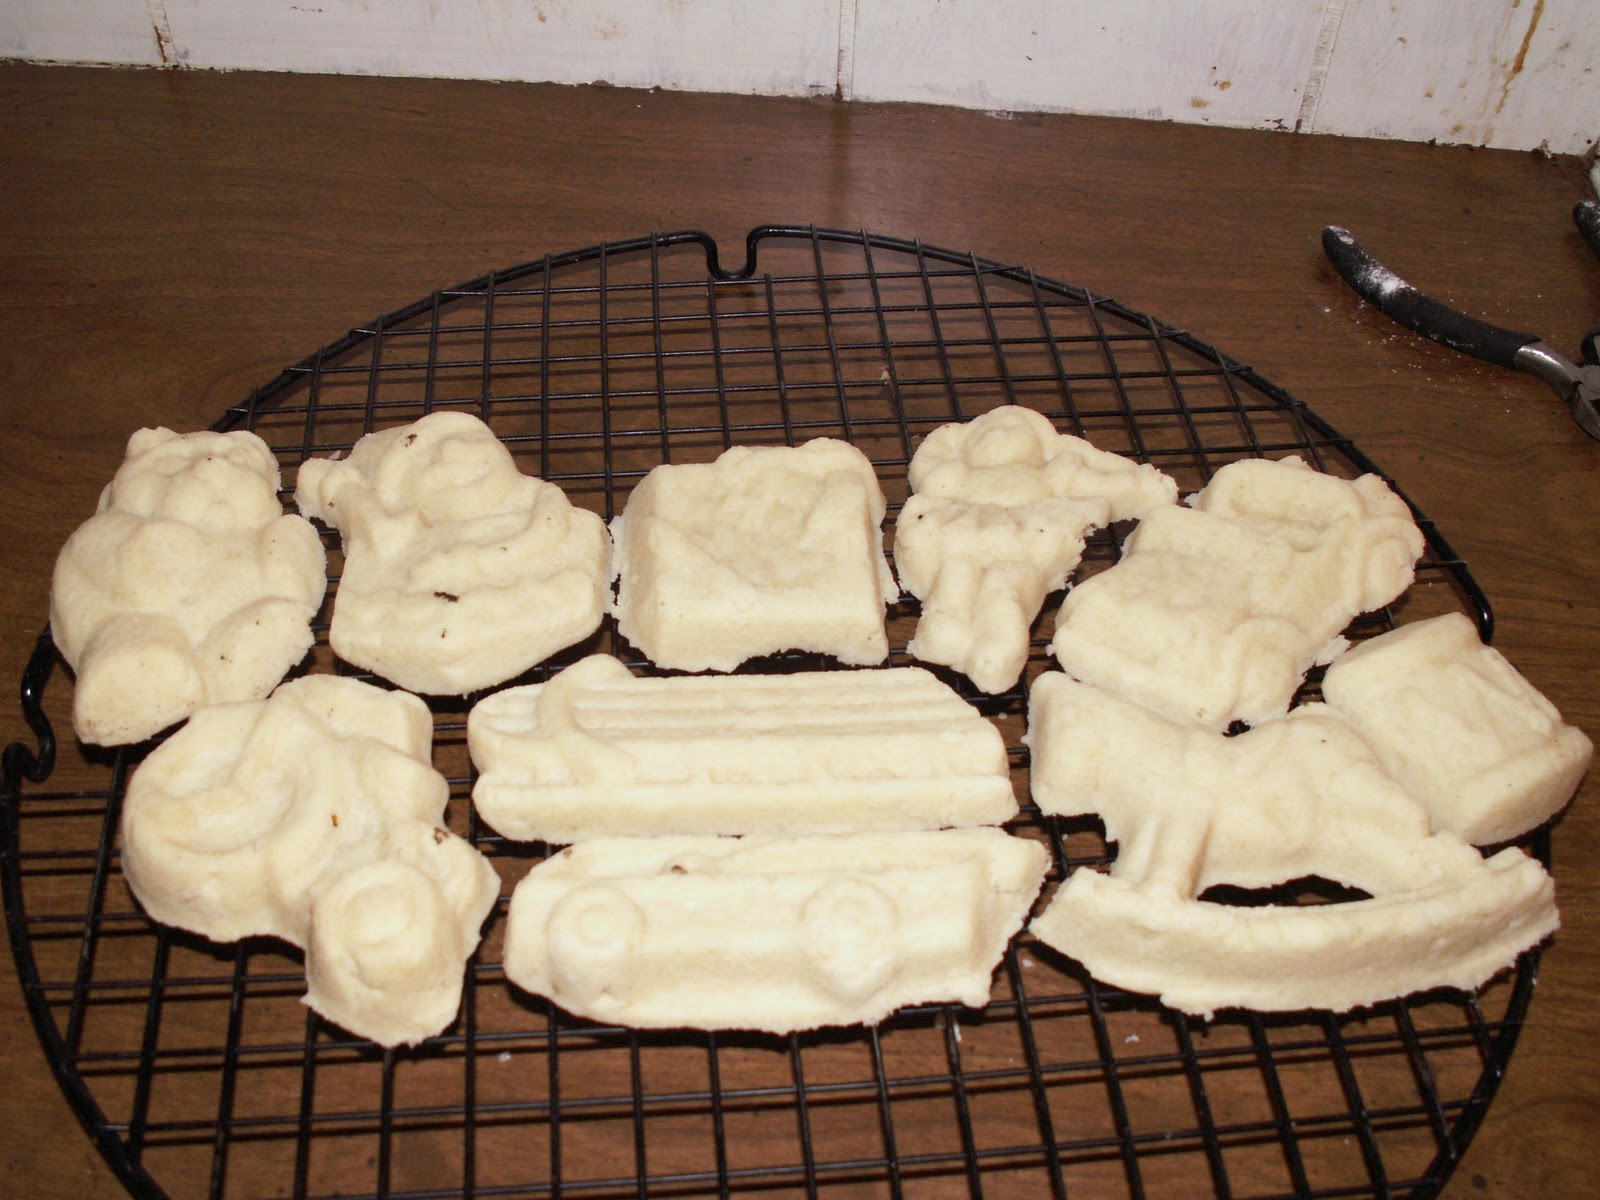


Sadly, they did not last long enough to decorate.
My husband moaned and groaned with each bite of most of the cookies about how they were not sweet enough to suit him. I admit, these are NOT sweet: they are a shortbread, full of buttery goodness! I will have to make some sugar cookies next time. Maybe they will last long enough to decorate. If so, I'll post it!
No comments:
Post a Comment